
These paper Christmas trees are yet another inexpensive but impressive design project.

What you'll need:
• Old books
• Cardboard
• Pinking Shears
• Scissors
• Wooden Skewers
• Craft Glue
• Red Ribbon (optional)
• Patience
Gather old books from a thrift store (be sure you're not tearing up anything valuable!) Sometimes you can get these for free from your local bookshop. Look for books they're about to donate or discard.
Remove the pages from the spines using scissors
Cut the pages into squares. Out of your biggest book, make your biggest square. For your descending sizes, make each square 1/4 inch shorter than the previous square.
Cut around the edges with a pair of pinking shears for the textured look.

Poke the skewer through the pages one at a time.
Occasionally glue the pieces to each other and use chunks of cardboard every three pieces to add bulk.
 |
| Use an ice pick or other sharp spike to poke a hole in the cardboard to keep your skewer sharp. |
Continue stacking and gluing until you have a good sized tree.
 |
Your cardboard pieces can be much smaller than this to keep them hidden. 3" squares will do.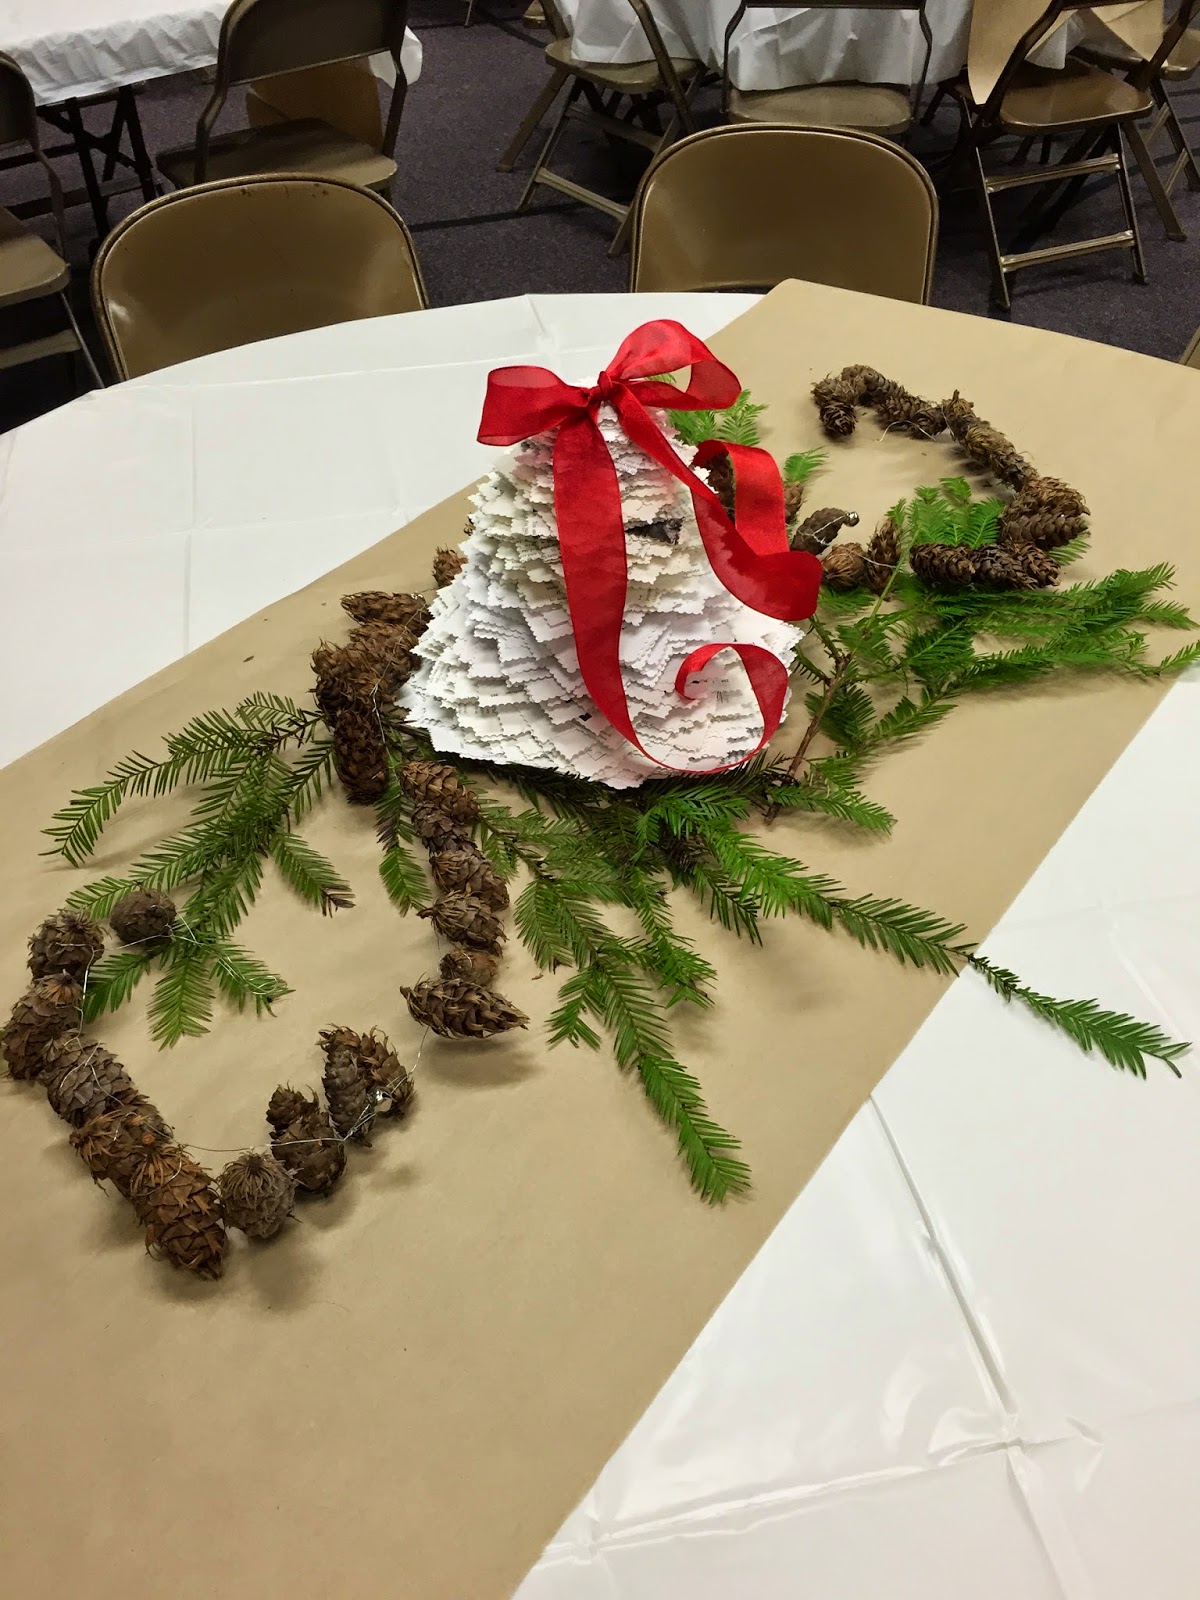 Add a bit of ribbon to the top and you're finished! |
This does take time, but the end product is worth it!
You could make it into an activity for the youth, they'll be excited to see their creations as part of the holiday festivities!
No comments:
Post a Comment